На сайте 123381 инструкция общим размером 499.28 Гб , которые состоят из 6234181 страницы
Фото
Руководство пользователя HYUNDAI H-CSX8A. Основные функции, характеристики и условия эксплуатации изложены на 11 страницах документа в pdf формате.
Доступно к просмотру 11 страниц. Рекомендуем вам скачать файл инструкции, поскольку онлайн просмотр документа может сильно отличаться от оригинала.
H-CSX8A
ACTIVE BOX SUBWOOFER                ???????? ????????? ????????
Instruction manual                                                                             ??    ????????????
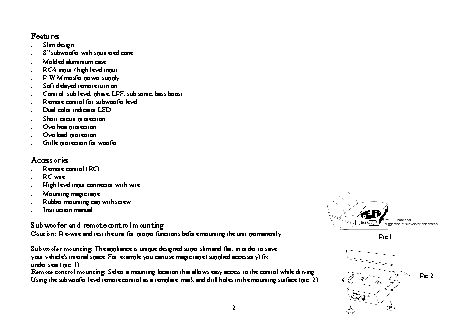
Features
Slim design
? subwoofer with sputtered cone
Molded aluminium case
RCA input / high level input
P.W.M mosfet power supply
Soft delayed remote turn on
Control: sub level, phase, LPF, sub sonic, bass boost
Remote control for subwoofer level
Dual color indicator LED
Short circuit protection
Overheat protection
Overload protection
Grille protection for woofer
Accessories
Remote control (RC)
RC wire
High level input connector with wire
Mounting magic tape
Rubber mounting cap with screw
Instruction manual
Subwoofer and remote control mounting
Caution: Pre-wire and test the unit for proper functions before mounting the unit permanently.                                Pic.1
Subwoofer mounting: The appliance is unique designed super slim and flat, in order to save
your vehicle's internal space. For example you can use magic tape (supplied accessory) fix
under seat (pic. 1).
Remote control mounting: Select a mounting location that allows easy access to the control while driving.                                   Pic.2
Using the subwoofer level remote control as a template, mark and drill holes in the mounting surface (pic. 2).
2
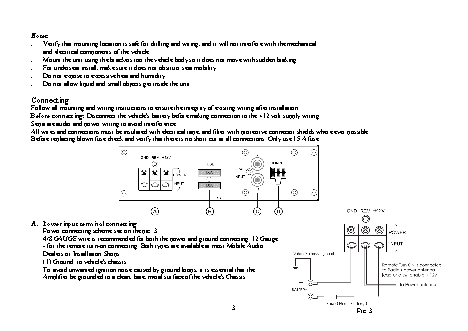
Notes:
Verify that mounting location is safe for drilling and wiring, and it will not interfere with the mechanical
and electrical components of the vehicle.
Mount the unit using the brackets too the vehicle body so it does not move with sudden braking.
For underseat install, make sure it does not obstruct seat mobility
Do not expose to excessive heat and humidity.
Do not allow liquid and small objects get inside the unit.
Connecting
Follow all mounting and wiring instructions to ensure the integrity of existing wiring after installation.
Before connecting: Disconnect the vehicle's battery before making connection to the +12 volt supply wiring.
Separate audio and power wiring to avoid interference.
All wires and connections must be insulated with electrical tape, and filter with protective connector shields where ever possible.
Before replacing blown fuse check and verify that there is no short cut at all connections. Only use 15 A fuse.
A. Power input terminal connecting
Power connecting scheme see on the pic. 3.
4/8 GAUGE wire is recommended for both the power and ground connecting. 12 Gauge
- for the remote turn-on connecting. Both types are available at most Mobile Audio
Dealers or Installation Shops.
(1) Ground: to vehicle's chassis.
To avoid unwanted ignition noise caused by ground loops, it is essential that the
Amplifier be grounded to a clean, bare, metal surface of the vehicle's Chassis.
3
Pic. 3