На сайте 123390 инструкций общим размером 499.31 Гб , которые состоят из 6234587 страниц
Фото

Руководство пользователя HYUNDAI H-CSX10A. Основные функции, характеристики и условия эксплуатации изложены на 11 страницах документа в pdf формате.
Доступно к просмотру 11 страниц. Рекомендуем вам скачать файл инструкции, поскольку онлайн просмотр документа может сильно отличаться от оригинала.
H-CSX10A ACTIVE BOX SUBWOOFER АКТИВНЫЙ КОРПУСНОЙ САБВУФЕР Руководство по эксплуатации manual Instruction
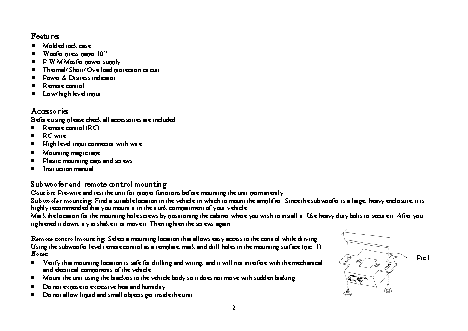
Pic.1
Subwoofer mounting: Find a suitable location in the vehicle in which to mount the amplifier. Since the subwoofer is a large, heavy enclosure, it is
Mark the location for the mounting hole screws by positioning the cabinet where you wish to install it. Use heavy duty bolts to secure it. After you
Using the subwoofer level remote control as a template, mark and drill holes in the mounting surface (pic. 1).
Verify that mounting location is safe for drilling and wiring, and it will not interfere with the mechanical
Remote control mounting: Select a mounting location that allows easy access to the control while driving.
Mount the unit using the brackets to the vehicle body so it does not move with sudden braking.
Caution: Pre-wire and test the unit for proper functions before mounting the unit permanently.
2
Molded rock case     Woofer press paper 10”   P.W.M Mosfet power supply  Thermal/ Short/ Overload protection circuit  Power & Distress indicator   Remote control   Low/ high level input   Before using please check all accessories are included.    Remote control (RC)   High level input connector with wire   Mounting magic tape  Plastic mounting caps and screws   Instruction manual  Subwoofer and remote control mounting  highly recommended that you mount i
Features   •   •   •   •   •   •   •      Accessories   •   RC wire   •   •   •   •   •         Notes:    •   •   •   •
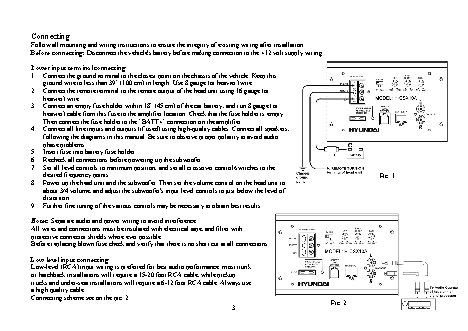
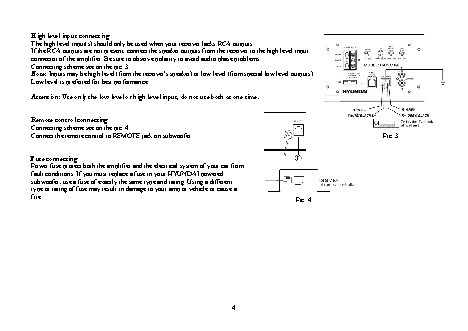
Pic. 1
Pic. 2
Before connecting: Disconnect the vehicle's battery before making connection to the +12 volt supply wiring.
Follow all mounting and wiring instructions to ensure the integrity of existing wiring after installation.
Connect all line inputs and outputs (if used) using high-quality cables. Connect all speakers,
Power up the head unit and the subwoofer. Then set the volume control on the head unit to
about 3/4 volume, and adjust the subwoofer's input level controls to just below the level of
heavier) cable from this fuse to the amplifier location. Check that the fuse holder is empty.
following the diagrams in this manual. Be sure to observe proper polarity to avoid audio
Connect an empty fuse holder within 18" (45 cm) of the car battery, and run 8 gauge (or
Connect the ground terminal to the closest point on the chassis of the vehicle. Keep this
Set all level controls to minimum position, and set all crossover control/switches to the
Connect the remote terminal to the remote output of the head unit using 16 gauge (or
3
Power input terminal connecting  ground wire to less than 39" (100 cm) in length. Use 8 gauge (or heavier) wire.   Then connect the fuse holder to the "BATT+" connection on the amplifier.   phase problems.  Insert fuse into battery fuse holder.  Recheck all connections before powering up the subwoofer.   desired frequency points.  Further fine tuning of the various controls may be necessary to obtain best results.  Notes: Separate audio and power
Connecting       1.   2.   heavier) wire.   3.   4.   5.   6.   7.   8.   distortion.   9.         a high quality cable.