На сайте 123431 инструкция общим размером 499.45 Гб , которые состоят из 6236163 страниц
Фото

Руководство пользователя M-AUDIO Pulsar II. Основные функции, характеристики и условия эксплуатации изложены на 24 страницах документа в pdf формате.
Доступно к просмотру 22 страницы. Рекомендуем вам скачать файл инструкции, поскольку онлайн просмотр документа может сильно отличаться от оригинала.
II
PULSAR
User Guide
English ( 3 – 6 )
Guia del usuario
Espanol ( 7 – 10 )
Guide d'utilisation
Francais ( 11 – 14 )
Guida per l'uso
Italiano ( 15 – 18 )
Benutzerhandbuch
Deutsch ( 19 – 22 )
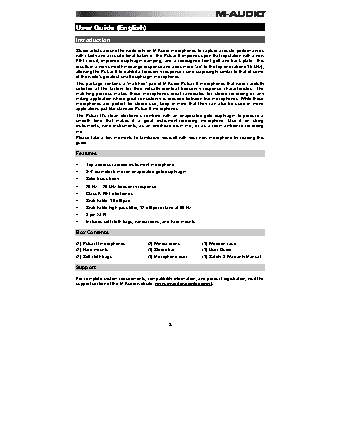
User Guide (English)
Introduction
Studio artists around the world rely on M-Audio microphones to capture acoustic performances
with clarity and accurate tonal balance. The Pulsar II improves upon that reputation with a new
FET circuit, improved diaphragm damping, and a  redesigned front grill and back plate. This
results in a very smooth midrange response and adds more "air" to the top end (above 15 kHz),
allowing the Pulsar II to exhibit a frequency response curve surprisingly similar to that of some
of the world's greatest small diaphragm microphones.
This package contains a “matched” pair of M-Audio Pulsar II microphones that were carefully
selected at the  factory for their virtually identical frequency response characteristics.  The
matching process makes these  microphones ideal candidates for stereo recording or any
miking application where great consistency is required between two microphones. While these
microphones are perfect for  stereo use,  keep in  mind that they  can also  be used in mono
applications just like standard Pulsar II microphones.
The Pulsar II's  clean electronics combine with  an evaporated gold diaphragm to produce a
smooth tone that makes it a great instrument-recording microphone. Use it on string
instruments, wind instruments, as an overhead  drum mic, or as  a room ambience recording
mic.
Please take a few moments to familiarize yourself with your new microphone by reading this
guide.
Features
•   Top-address cardioid instrument microphone
•   3/4" diameter 6-micron evaporated-gold diaphragm
•   Solid brass body
•   20 Hz – 20 kHz frequency response
•   Class A FET electronics
•   Switchable -10 dB pad
•   Switchable high-pass filter, 12 dB per octave at 80 Hz
•   3-pin XLR
•   Includes soft cloth bags, windscreens, and hard mounts
Box Contents
(2) Pulsar II microphones   (2) Windscreens   (1) Wooden case
(2) Hard mounts           (1) Stereo bar      (1) User Guide
(2) Soft cloth bags       (1) Microphone riser   (1) Safety & Warranty Manual
Support
For complete system requirements, compatibility information, and product registration, visit the
support section of the M-Audio website: www.m-audio.com/support.
3
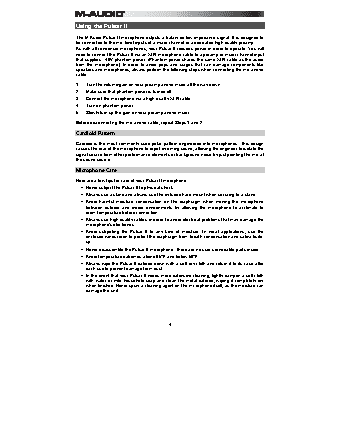
Using the Pulsar II
The M-Audio Pulsar II microphone outputs a balanced low-impedance signal. It is designed to
be connected to the mic-level inputs of a mixer channel or a dedicated high-quality preamp.
As with all condenser microphones, your Pulsar II requires power in order to operate. You will
need to connect the Pulsar II via an XLR microphone cable to a preamp or mixer channel input
that supplies +48V phantom power. (Phantom power shares the same XLR cable as the audio
from the microphone.) In order to avoid pops  and surges that  can damage  components like
speakers and microphones, always perform the following steps when connecting the mic and/or
cable:
1.   Turn the volume/gain on your preamp and/or mixer all the way down.
2.   Make sure that phantom power is turned off.
3.   Connect the microphone via a high-quality XLR cable.
4.   Turn on phantom power.
5.   Slowly turn up the gain on your preamp and/or mixer.
Before disconnecting the mic and/or cable, repeat Steps 1 and 2.
Cardioid Pattern
Cardioid is the most commonly used polar pattern engineered into microphones. This design
causes the rear of the microphone to reject incoming sound, allowing the engineer to isolate the
signal source from other performance elements or background noise by just pointing the mic at
the sound source.
Microphone Care
Here are a few tips for care of your Pulsar II microphone:
•  Never subject the Pulsar II to physical shock.
•  Always use a stand and always use the included hard mount when securing to a stand.
•  Avoid harmful moisture condensation on  the diaphragm  when moving the microphone
between outdoor and indoor environments by allowing the microphone to acclimate to
room temperature before connection.
•  Always use high-quality cables in order to avoid electrical problems that may damage the
microphone's electronics.
•  Avoid subjecting the Pulsar  II to any kind of moisture. In vocal applications, use the
enclosed windscreen to protect the diaphragm from breath condensation and saliva build-
up.
•  Never disassemble the Pulsar II microphone. There are no user-serviceable parts inside.
•  Avoid temperature extremes above 95°F and below 50°F.
•  Always wipe the Pulsar II exterior down with a soft dry cloth and return it to its case after
each use to prevent damage from dust.
•  In the event that your Pulsar II needs more extensive cleaning, lightly dampen a soft cloth
with water or mild household soap and clean the metal exterior, wiping it completely dry
when finished. Never spray a cleaning agent on the microphone itself, as the moisture can
damage the unit.
4