На сайте 123429 инструкций общим размером 499.45 Гб , которые состоят из 6236153 страниц
Фото


Руководство пользователя HYUNDAI H-1513. Основные функции, характеристики и условия эксплуатации изложены на 7 страницах документа в pdf формате.
Доступно к просмотру 7 страниц. Рекомендуем вам скачать файл инструкции, поскольку онлайн просмотр документа может сильно отличаться от оригинала.
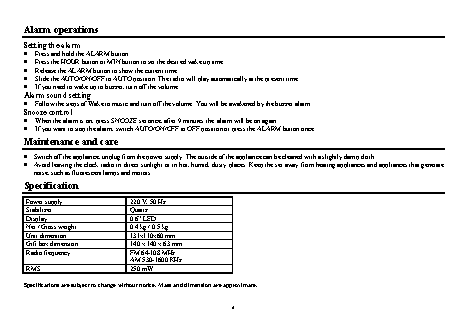
H-1513 ALARM CLOCK RADIO РАДИОПРИЕМНИК С ЧАСАМИ Instruction manual Руководство по эксплуатации
Insert 1x9V battery (not included) to the terminal inside the battery compartment. Your set will not work normally from the battery supply, but there is
Dangerous voltage: Uninsulated dangerous voltage, that may be of sufficient magnitude to constitute a risk of electrical shock to persons, is present
This enables you to move the set from place to place without re-setting the clock every time. The battery back-up system is only meant to be used from
now the advantage that, in case there is a mains current failure, your clock will continue to work. The clock display will not light up, the clock time will
Attention: The owner’s manual contains important operating and maintenance instructions for your safety, it is necessary to refer the manual.
short temporary power failures. For longer durations the battery may become exhausted or there may be some deviation in accuracy.
Caution: To reduce the risk of electric shock, do not remove cover (or back). Prefer servicing to qualified service personnel.
Bottom of the set: battery compartment for 1x9V battery (not included) for temporary time storage.
2
Description   1. LIGHT switch  2. AUTO/OFF/ON switch  3. VOLUME regulator   4. Display   5. SLEEP button   6. TIME button   AL SET button   7.   8. SNOOZE button   AL OFF button   9.   10. HOUR button   11. MIN button   12. Speaker   13. TUNING regulator   14. AM/FM switch      Important safeguards   •   •  within this product enclosure.   •   Power supply   Battery backup   •  be held in the clock memory by the battery back-up system.
your set will work normally without a battery. However, if disconnected from the mains, the clock figures will flash when the mains are re-connected and
Set for a desired period of sleep, simply press and hold SLEEP button and then press HOUR button or MIN button to set the desired period of the sleep
When the battery is exhausted, it should be removed from the set to prevent leakage. If you do not wish to take advantage of the battery back-up system,
Before the first connecting of the appliance check that voltage indicated on the rating label corresponds the mains voltage in your home.
If you want to turn off the radio before sleep time has expired, press SNOOZE button once.
To turn the display backlight on or off, slide the LIGHT switch to ON or OFF position.
Press the HOUR button or MIN button to set the clock display to the correct time.
3
AС operation  you must re-set the clock as described in the AC Operation paragraph.   The appliance is for household use only.   Insert the plug into the power supply.  The set is now working as an electronic clock.   Setting the clock   To set time  Press and hold the TIME button.  Release the HOUR button and MIN button when finished the setting.  Buttons backlight function   Radio operations   Tuner operations  Slide the AUTO/ON/OFF switch to ON and
•           •   •   •   •         •   •   •       •            •   •   •   •     •   •   •   •   •